- Open Hyper V Manager, and select "Import Virtual Machine..." from the right hand pane.
- Browse to the cluster storage volume where the images are stored. The location is C:/ClusterStorage/Volume2/Base Install Images/
- Select the folder of the image you want to import and hit "next."
- Select the virtual machine from the list and hit "next."
- Choose the option that says "create a new unique ID."
- Check the box that says "Store the virtual machine in a different location."
- Use the browse button to navigate to the C:\ClusterStorage\Volume2\Hyper-V\Machines\ directory.
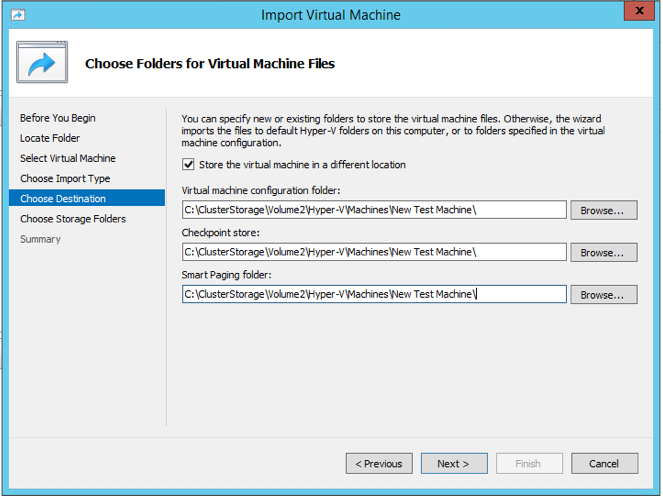
- Create a new directory for your virtual machine as shown below, and select the folder as the destination.
- Place this same path in the box as the destination for the "checkpoint store" as well as the "Smart paging folder" as shown above.

- Click next and complete the import and setup of the new virtual machine.
- Once running, you will need to enter a Windows activation key immediately and activate the copy of Windows before you will be able to proceed with the installation of any apps or programs.
0 Comments