This article will guide you through the process of connecting your Android phone to the company VPN. Depending on the version of your Android OS, or the model of your phone, your screen may look different from the screenshots below. The setup will be similar on other versions and phones.
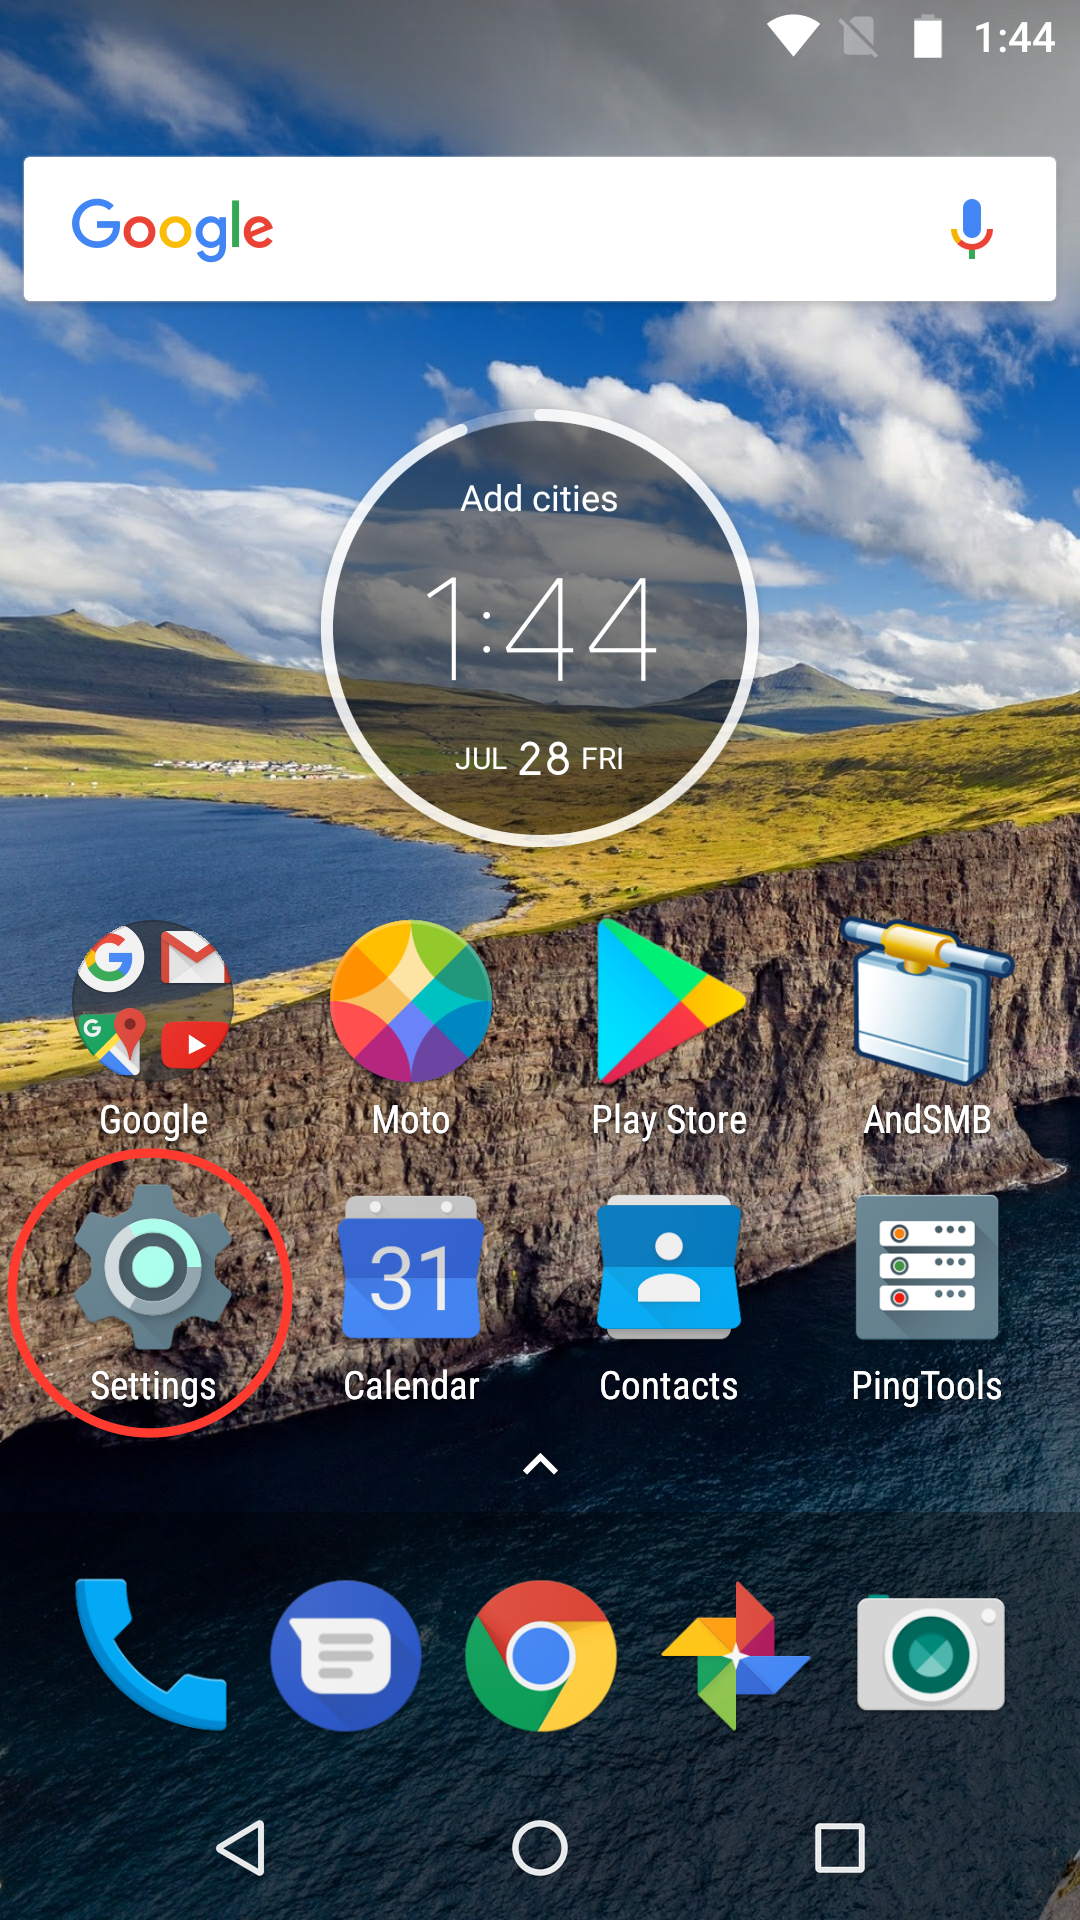
Click on the Settings icon from your home screen.
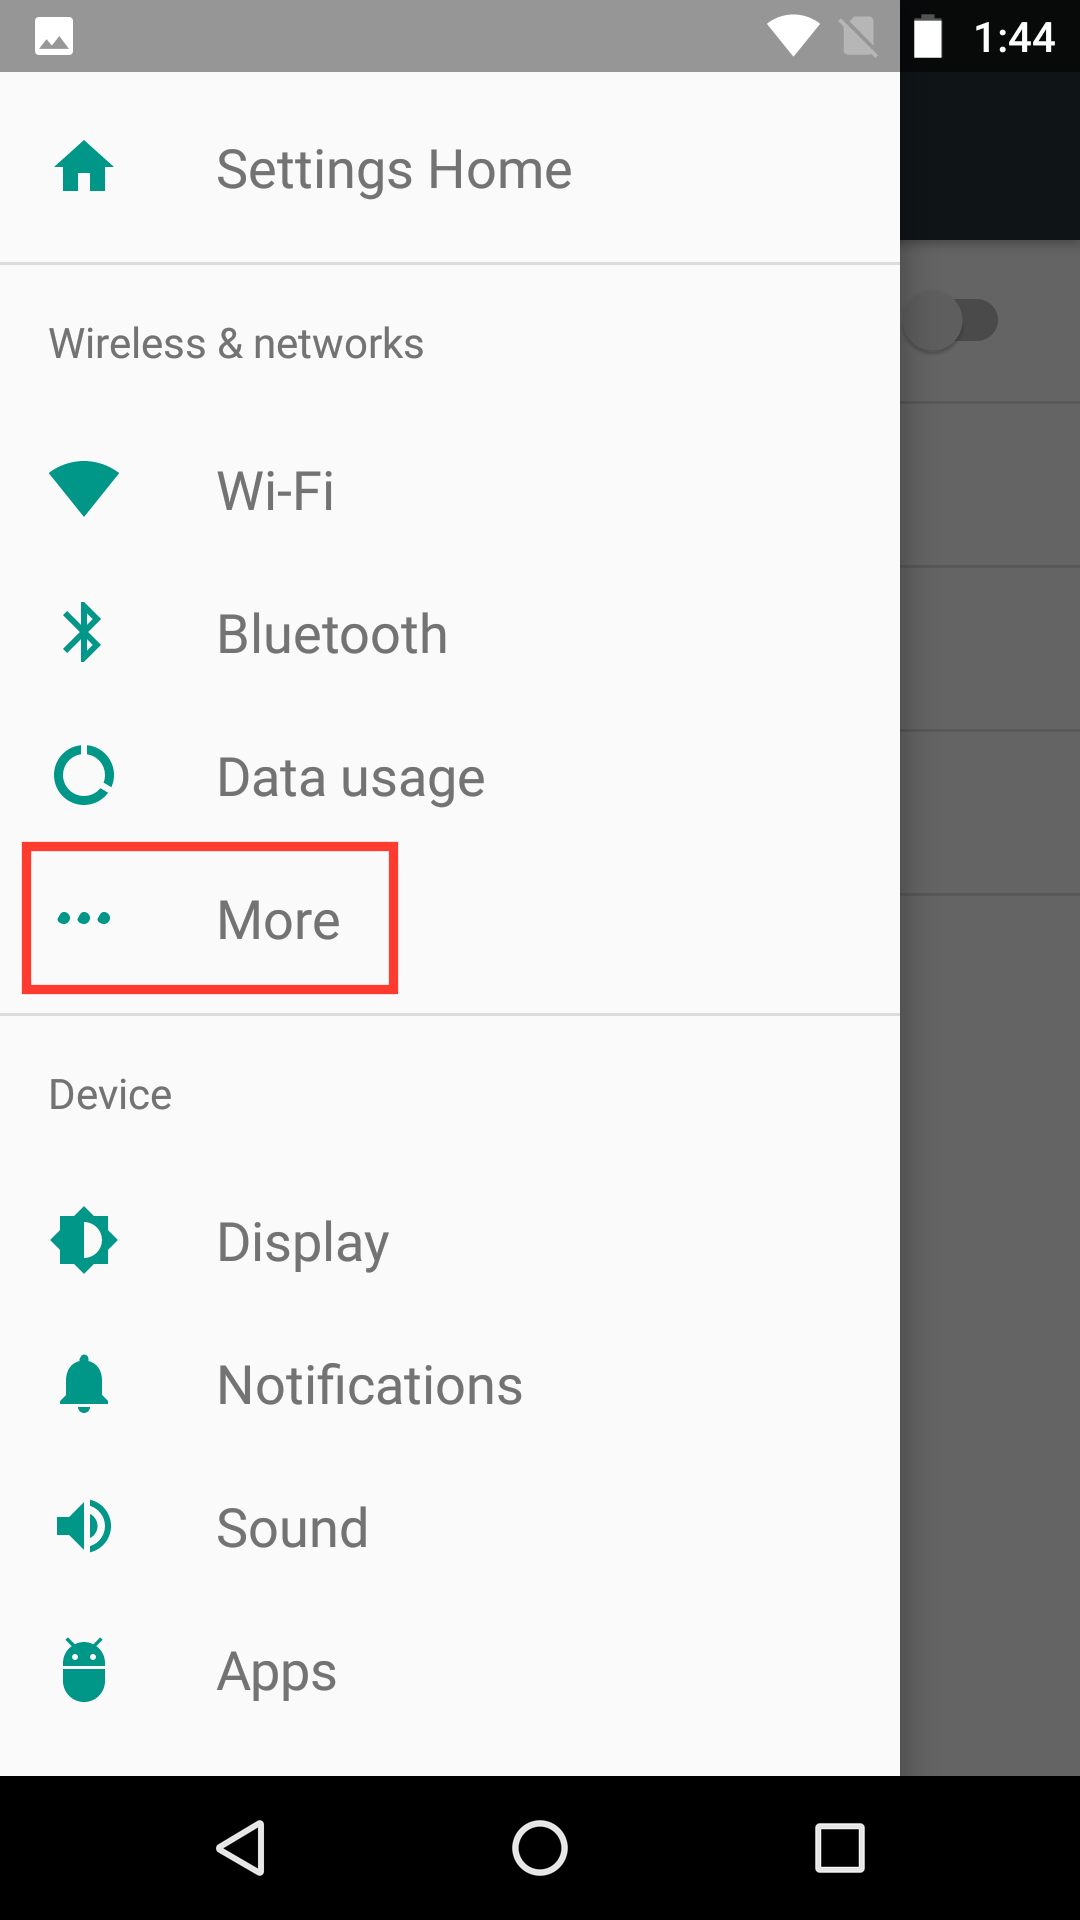
Under "Wireless & Networks" click on "More."
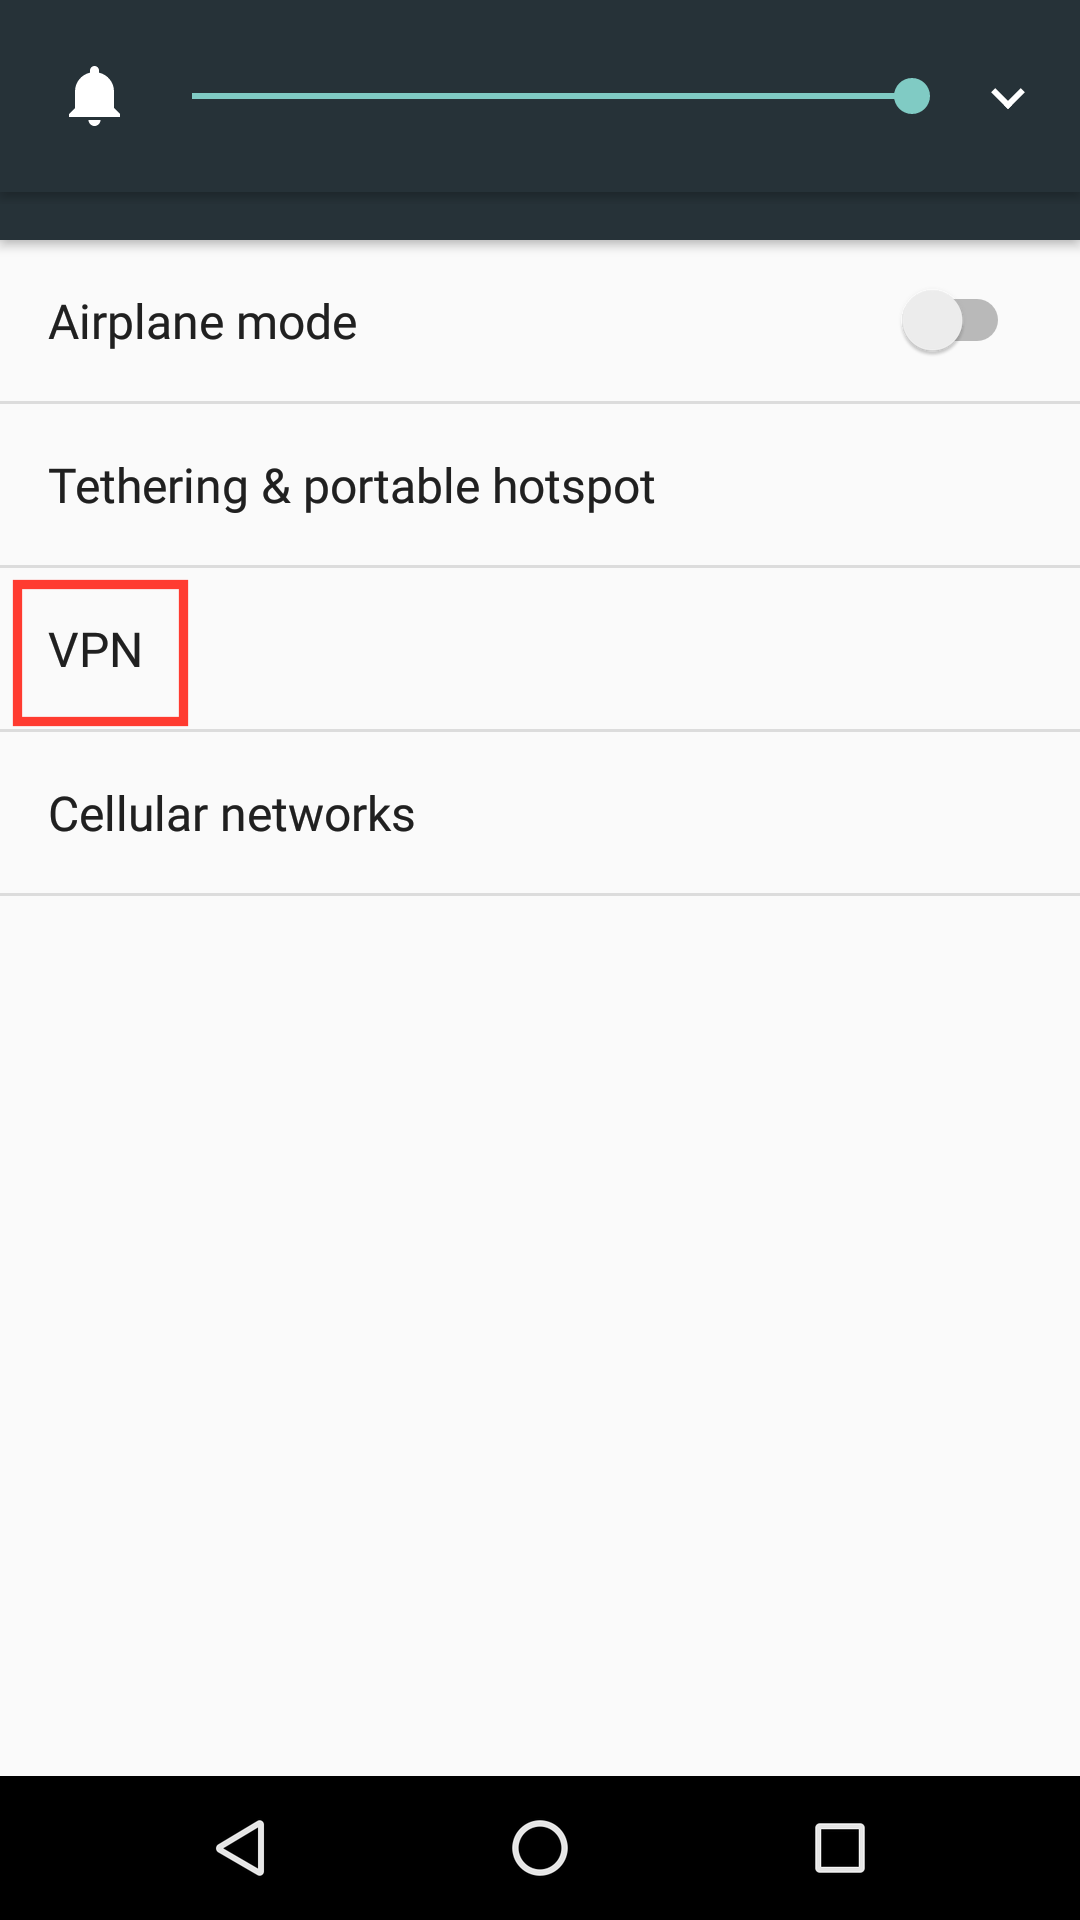
Click on "VPN."
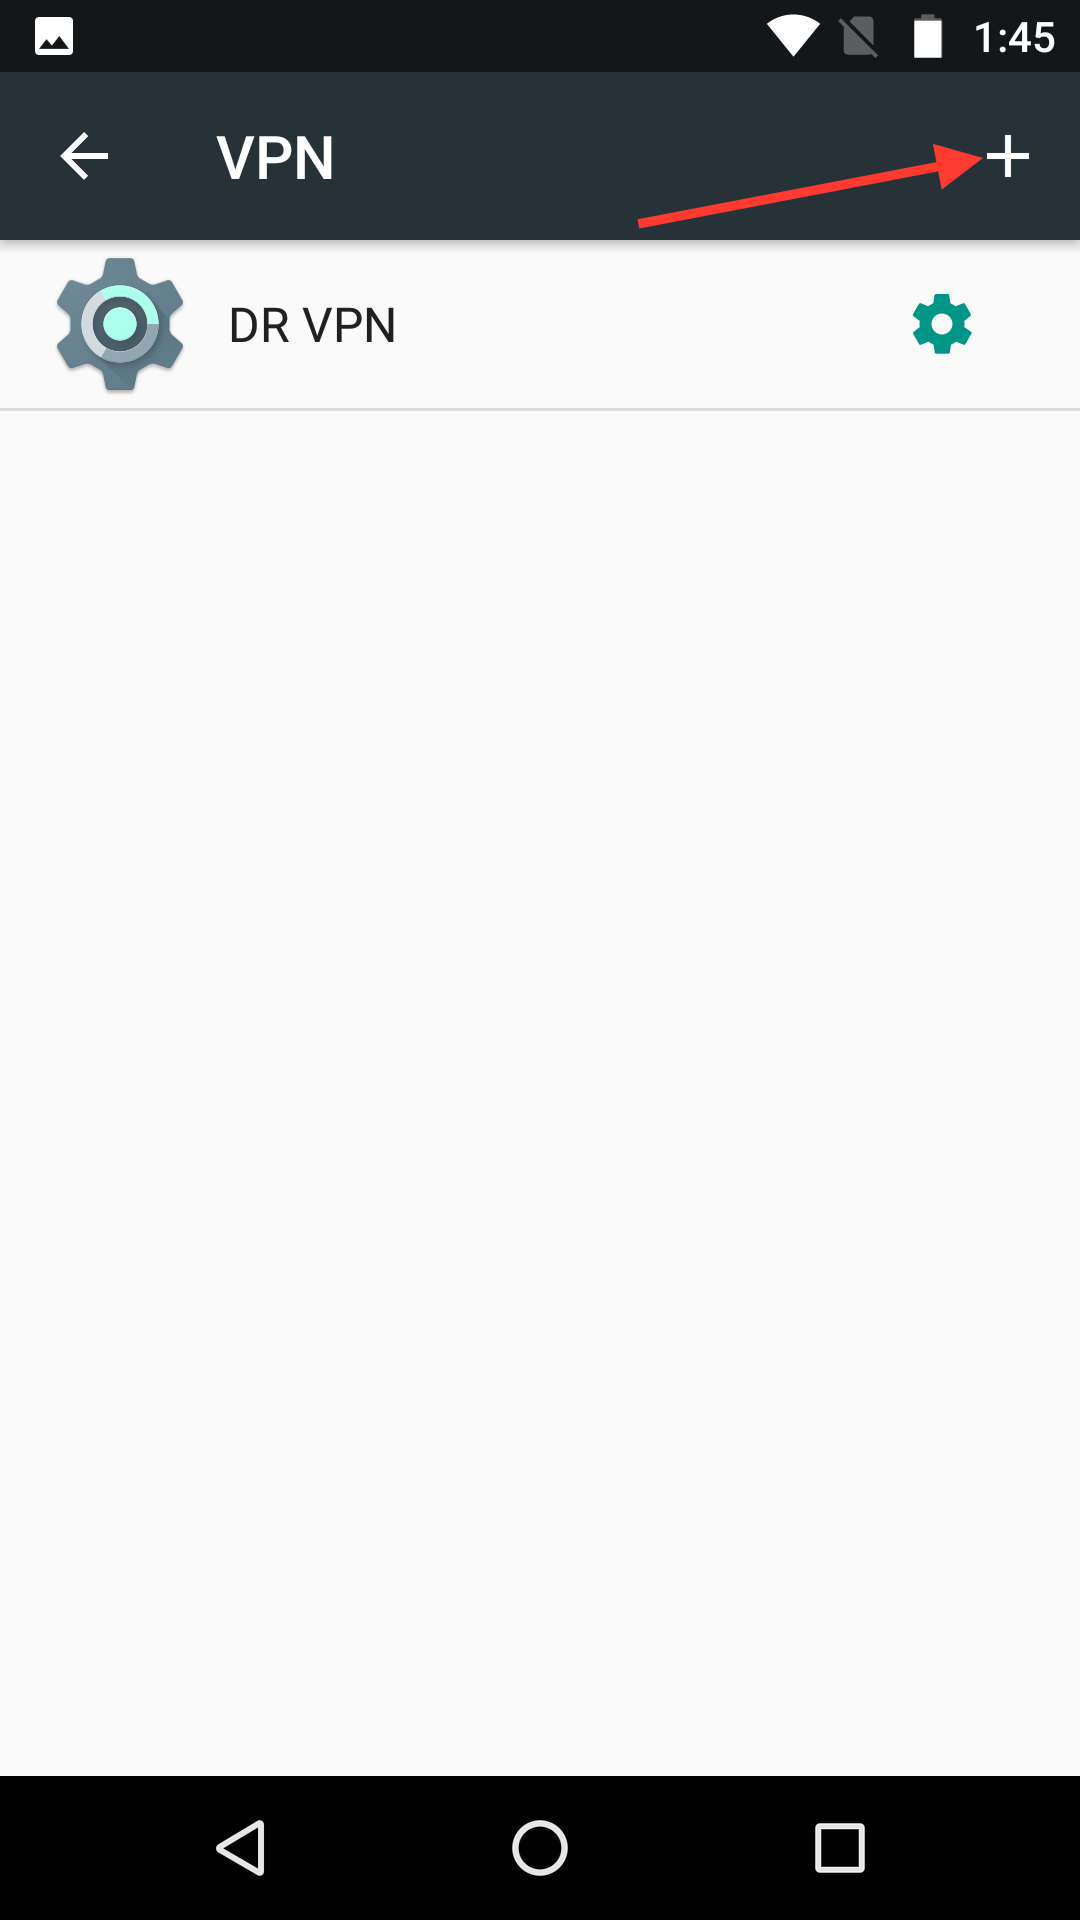
Click on the + symbol on the right hand side at the top of the screen.
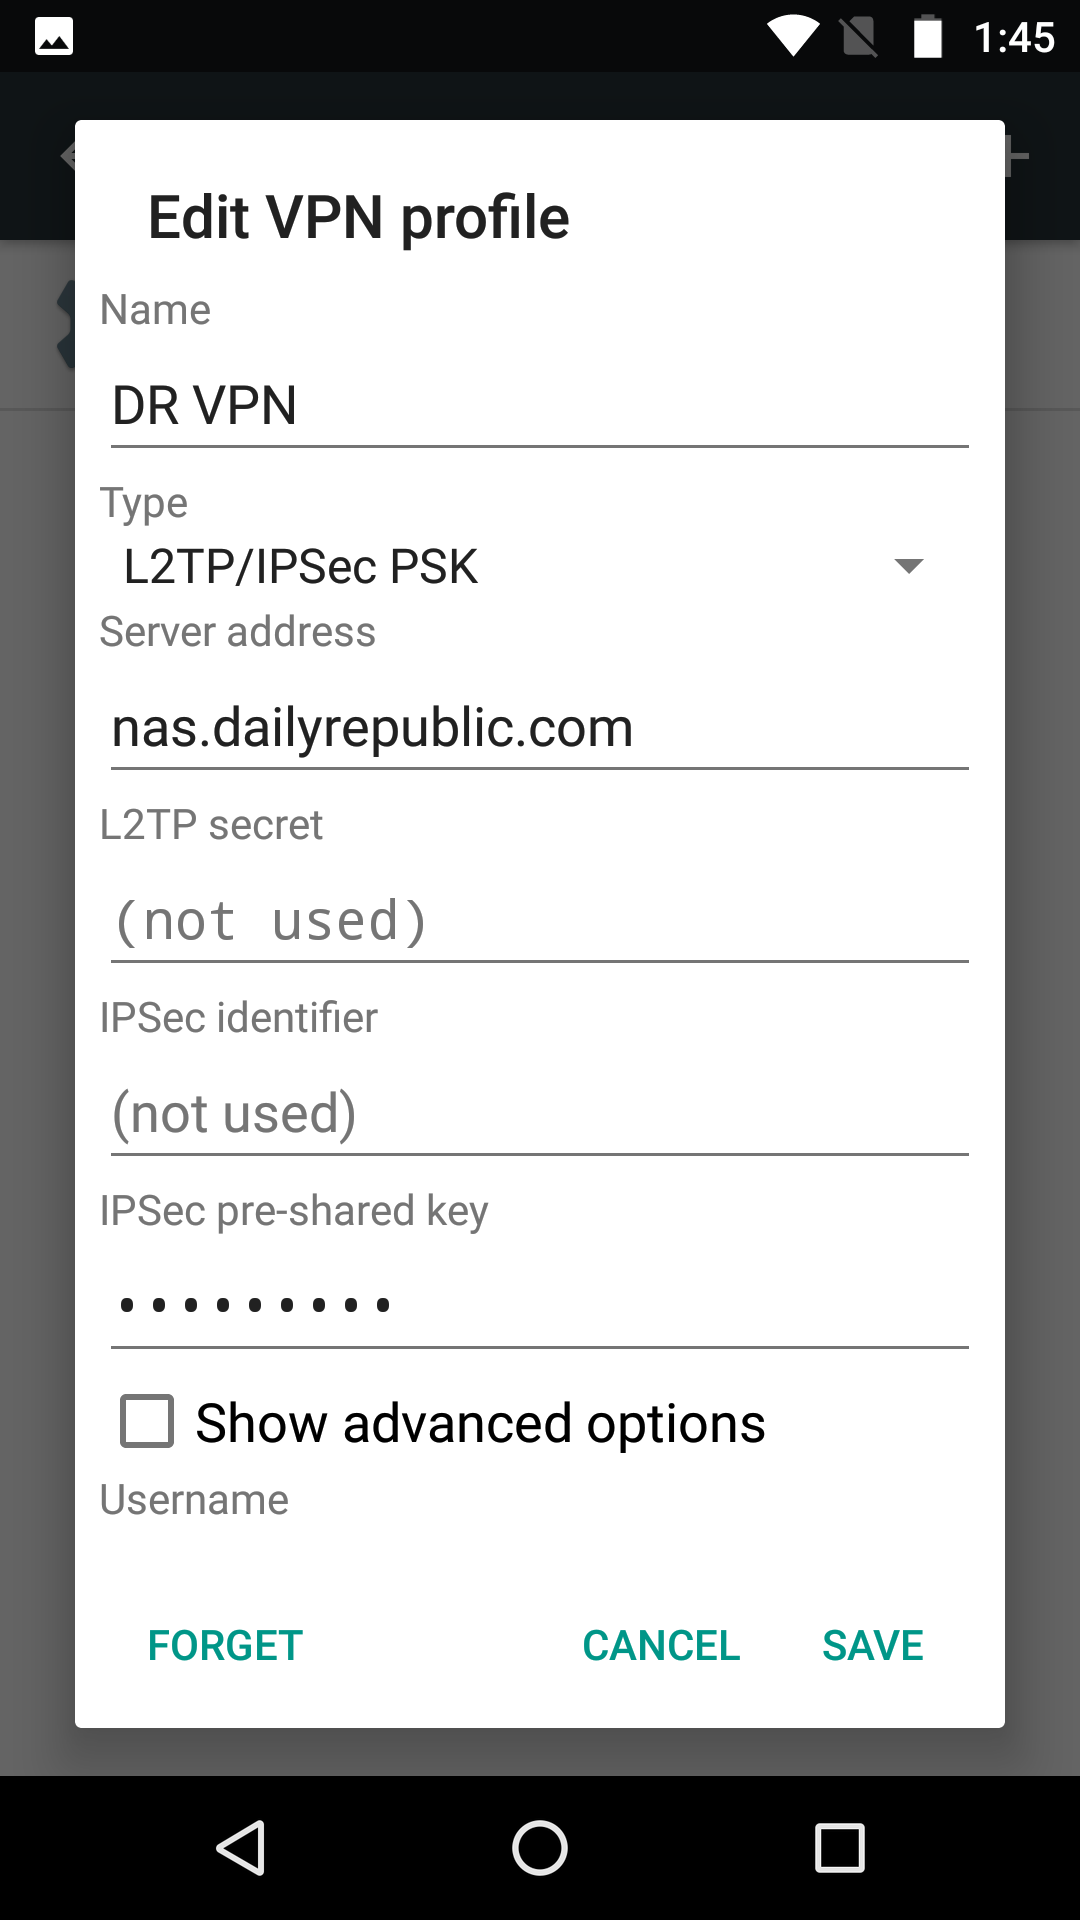
- Under "Name" place the name of the VPN. Name it something you will recognize, like "Enterprise VPN."
- Under "Type" select "L2TP/IPsec PSK."
- For "Server Address" put the name of your site's NAS devices. This will be nas.dailyrepublic.com for the DR, nas.davisenterprise.com for the DE, and nas.mtdemocrat.com for the MD.
- Leave the "L2TP secret" and "IPSec identifier" fields blank.
- Under "IPSec pre-shared key" put 2ndF=Fisk
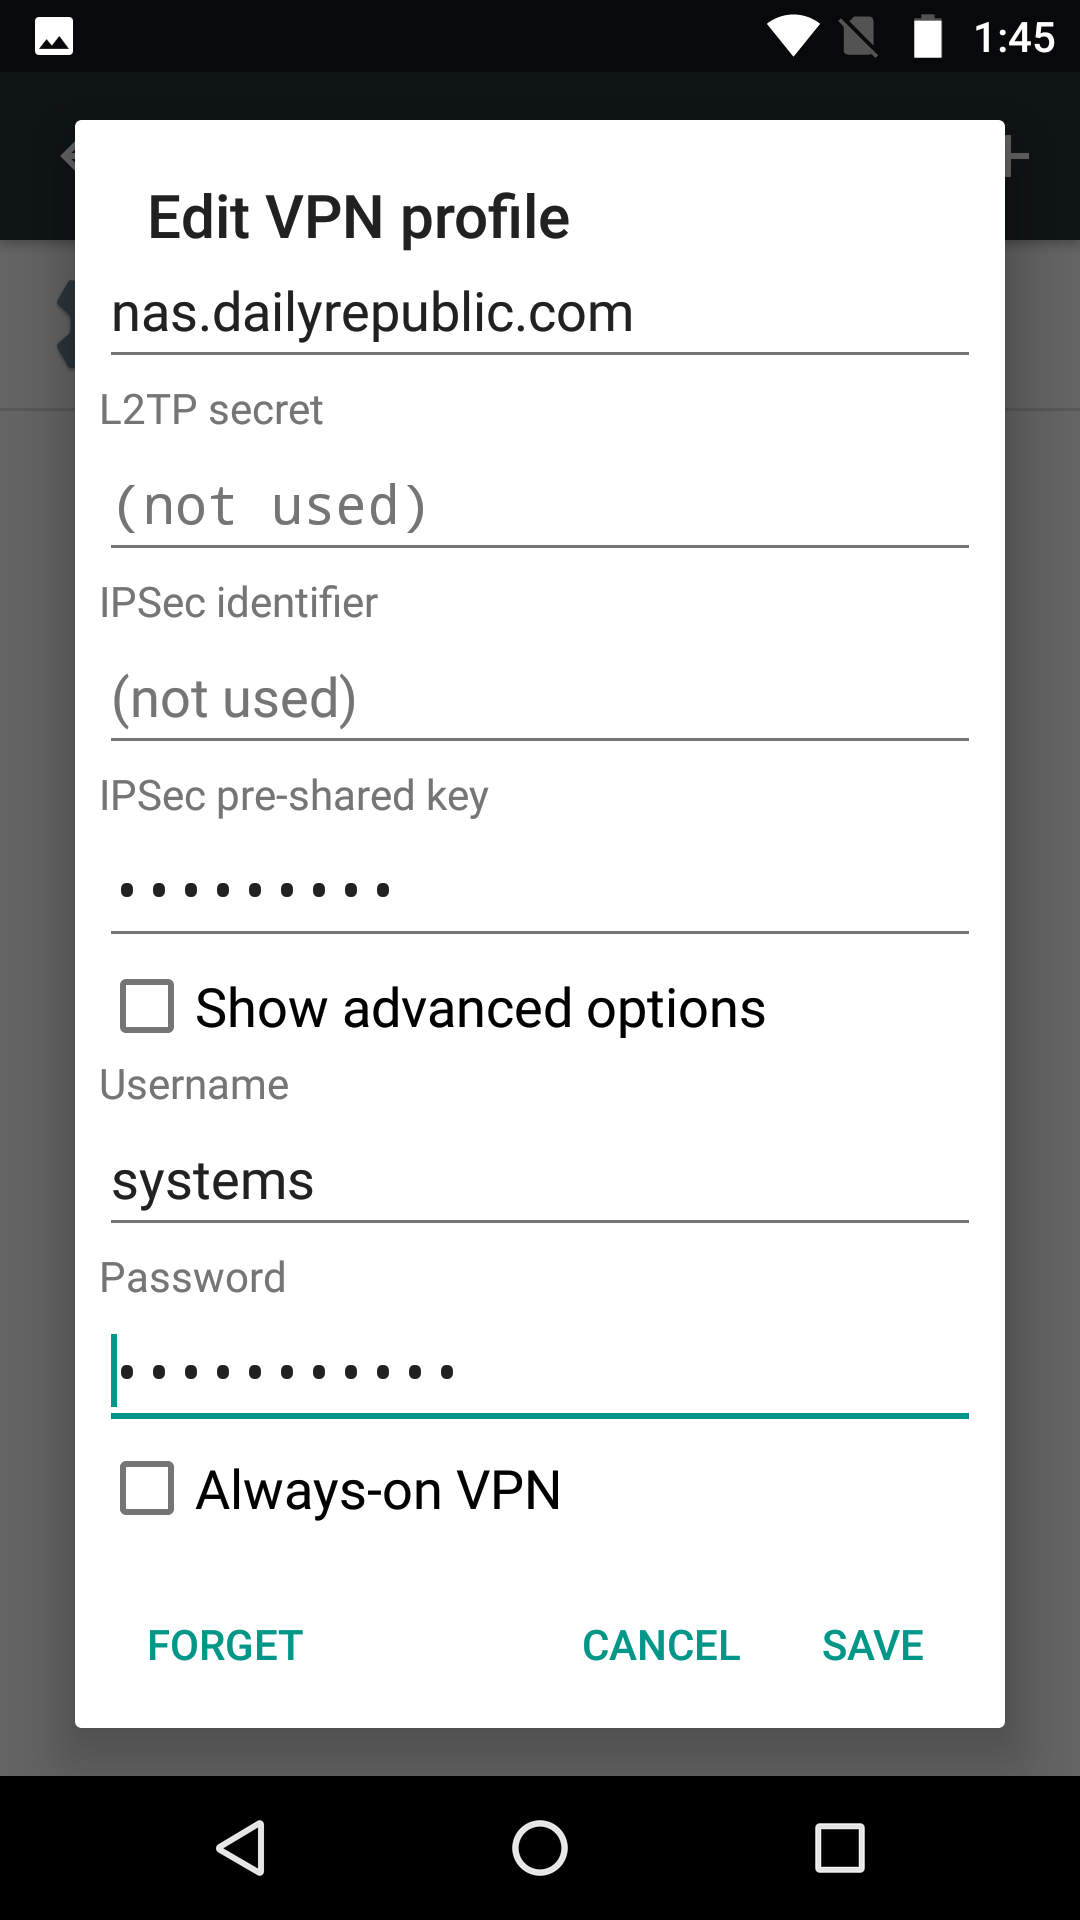
- Under "Username" put your NAS username. This follows the format of firstname.lastname.
- Under the "Password" section place your NAS password.
- Click "SAVE" and you are done creating the connection profile.
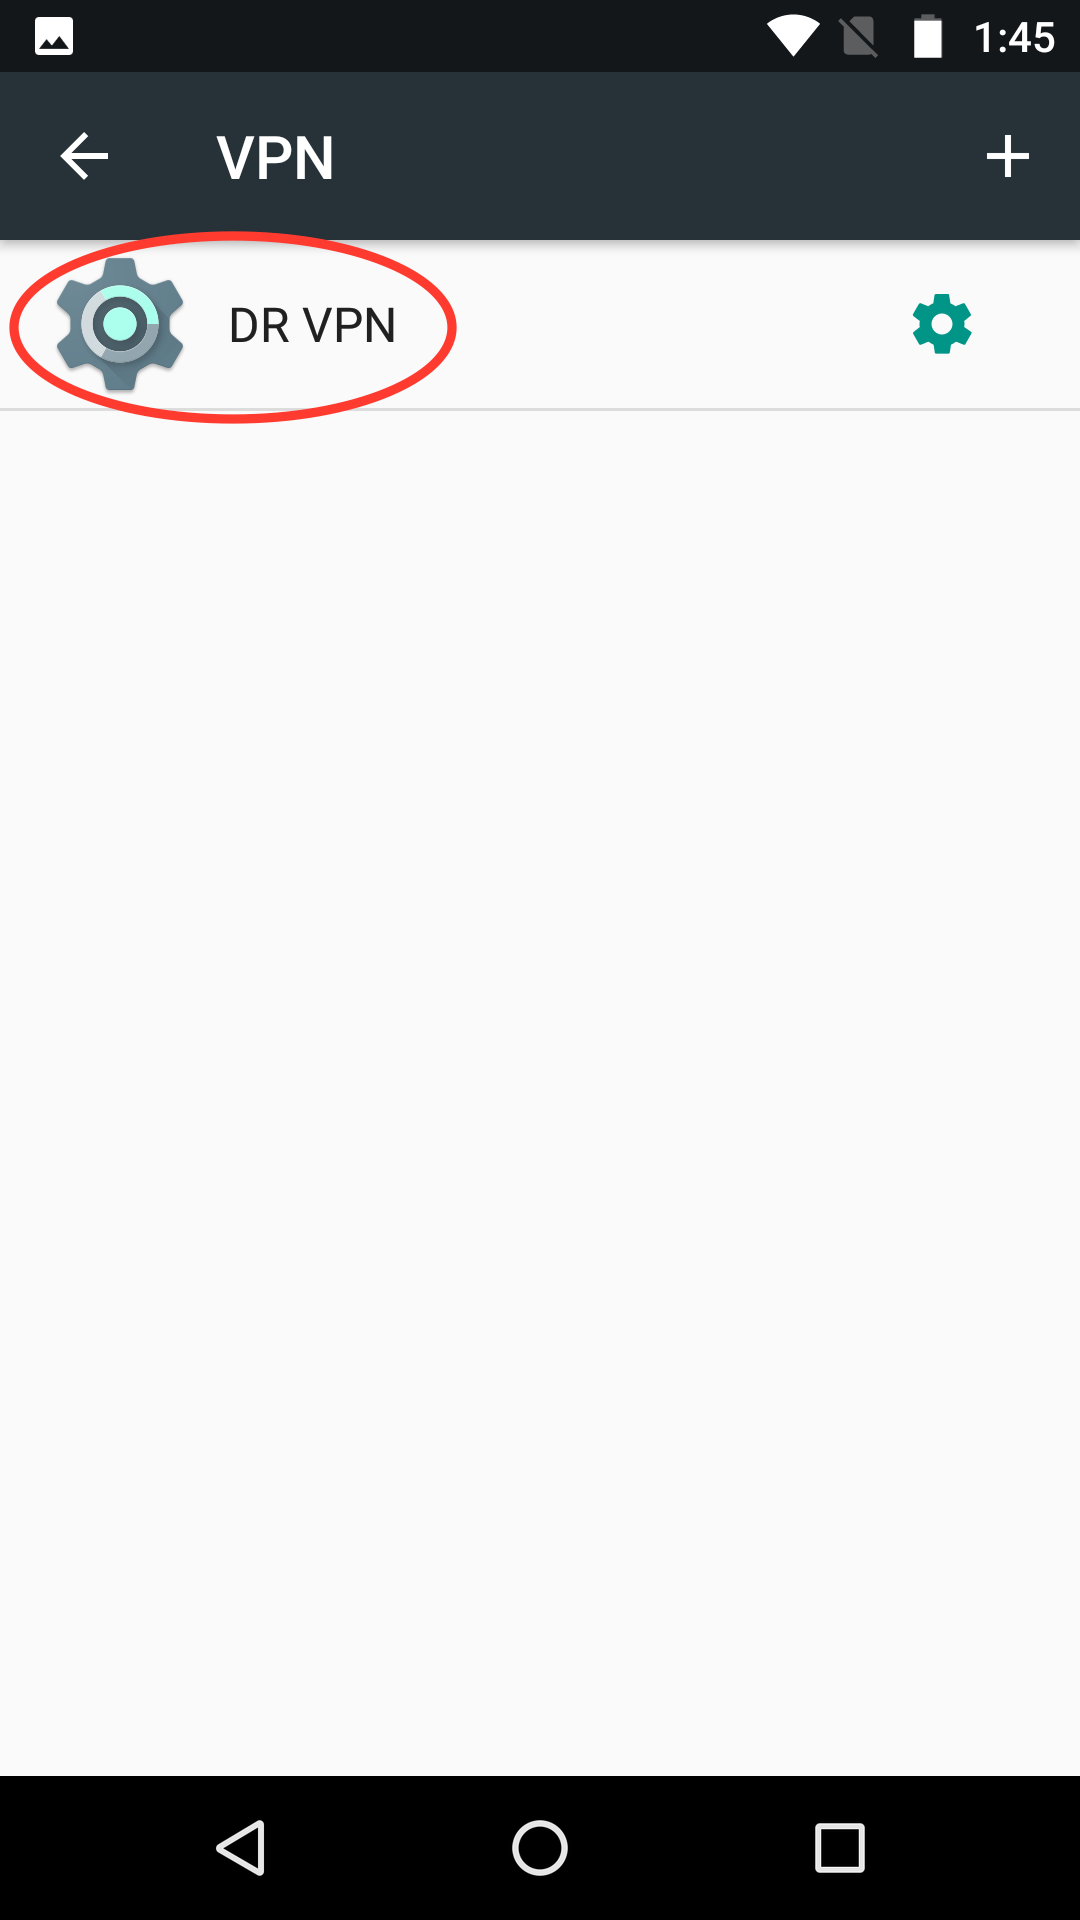
Once you are back at the VPN screen, you can click on the new VPN profile that you just created.
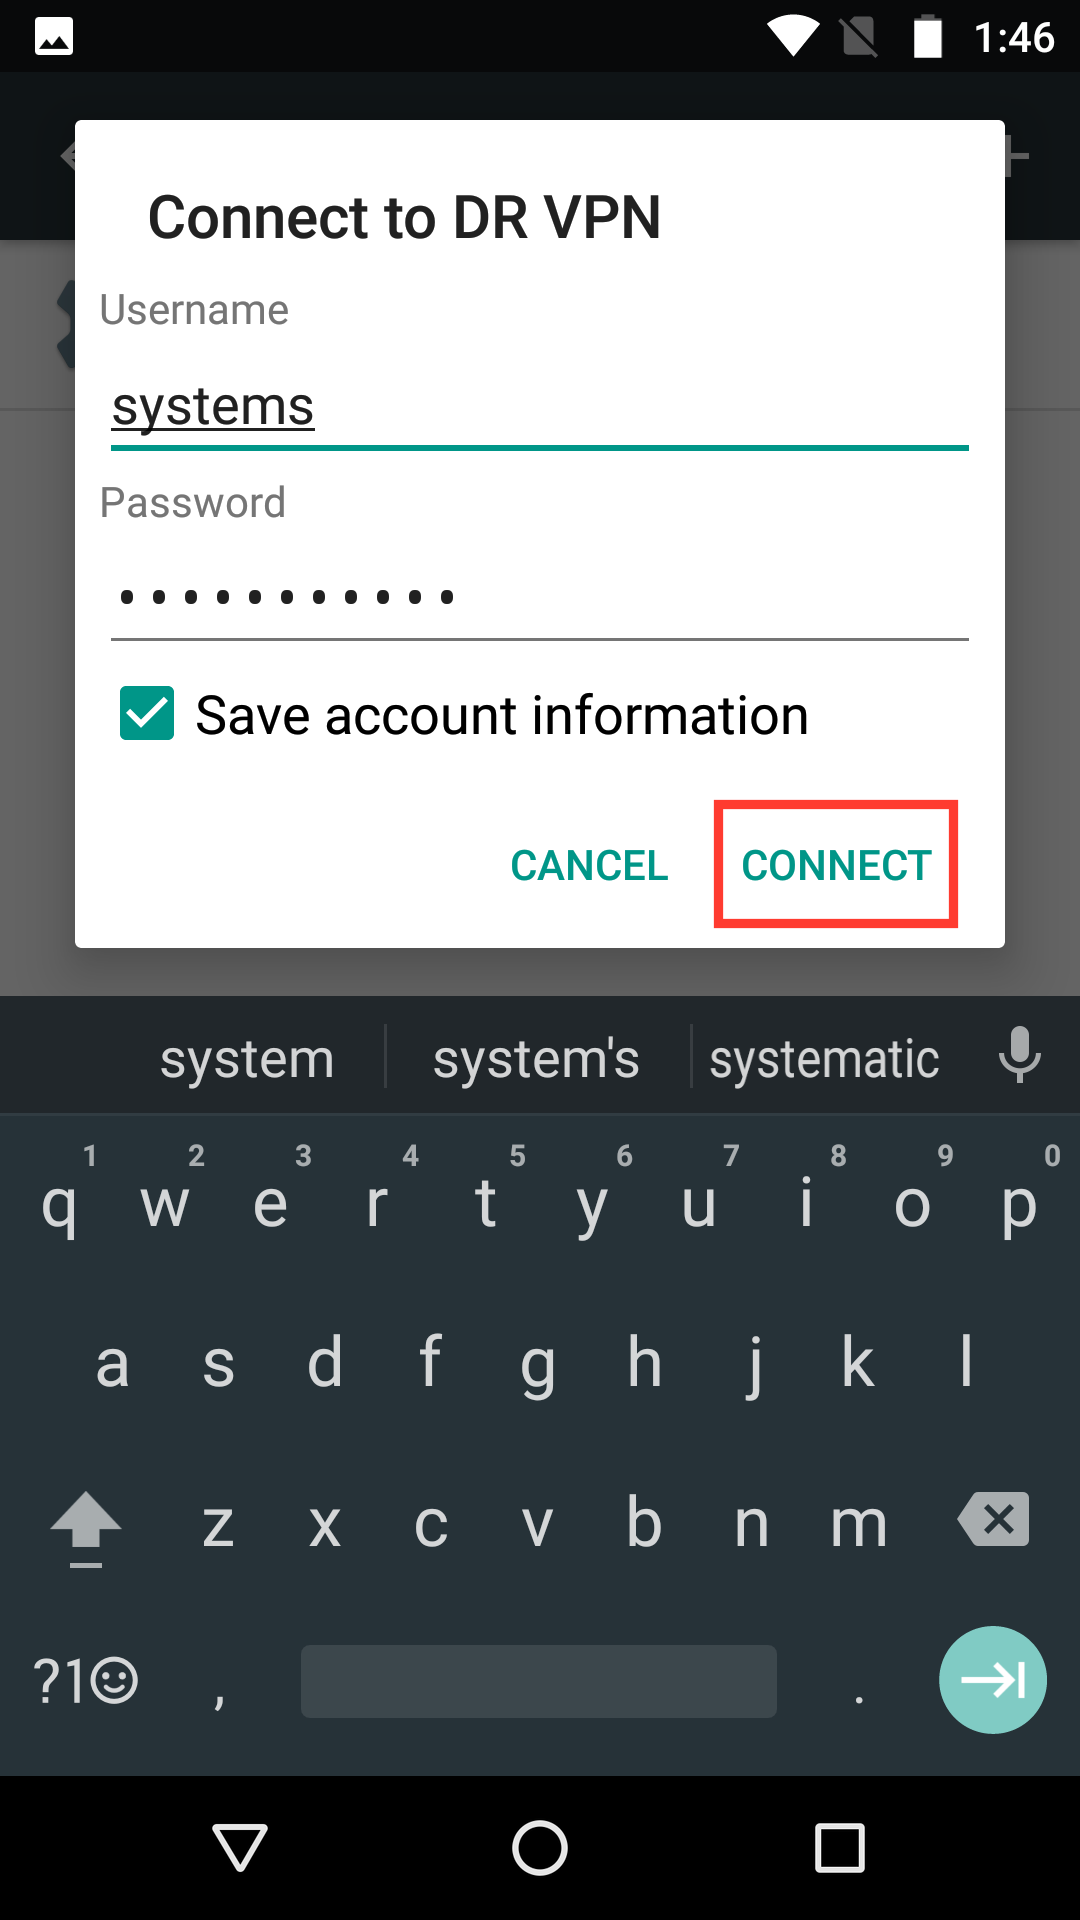
- If your account information was saved, you just need to click "Connect" to start the VPN connection. If your account information was not saved, you can re-enter it and check the "Save account information" checkbox to have it saved in the future.
- Once the VPN is connected, you can go back to the home screen and your phone is now connected to the company network.
0 Comments