Note: Your WordPress user needs to have the Editor role on the site where the Form is to be posted.
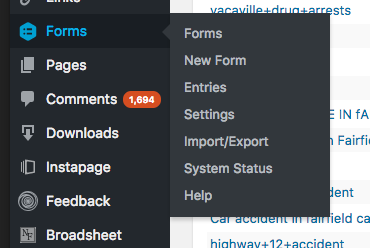
Step 1: Look in the left-hand menu of the WordPress backend to find the menu entry for Forms. Click "New Form"
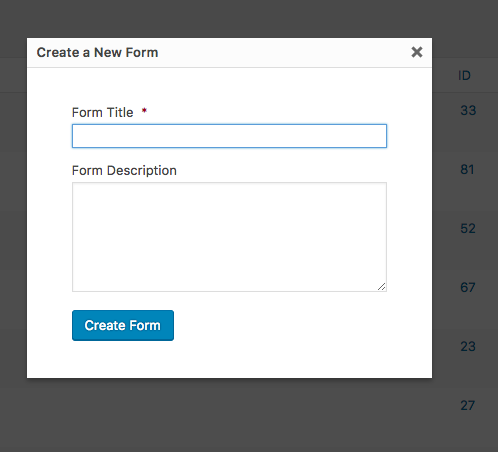
Step 2. You'll be asked to add a required title and optional description for this form.
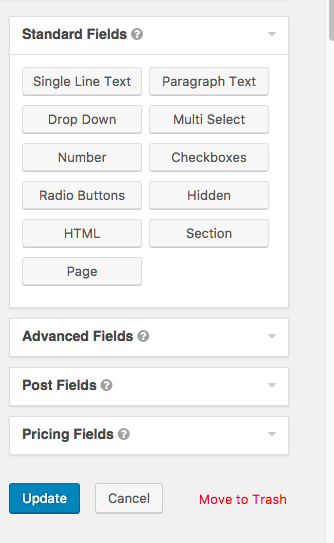
Step. 3: Click a field to add any form fields you need, edit them by clicking to drop down field options. Arrange via drag and drop. Then update the form using the blue Update button.
Step 4: The last thing we need to do on a normal form is edit the Notifications and Confirmations. Notifications send an email. Confirmations are displayed to a reader immediately following a form submission.
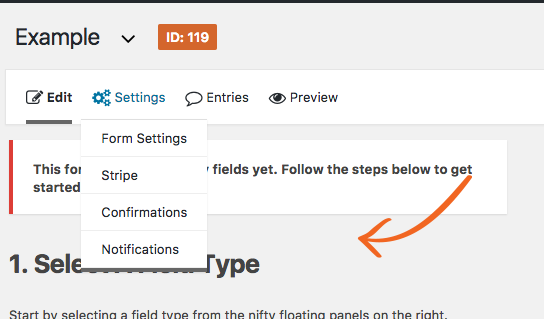
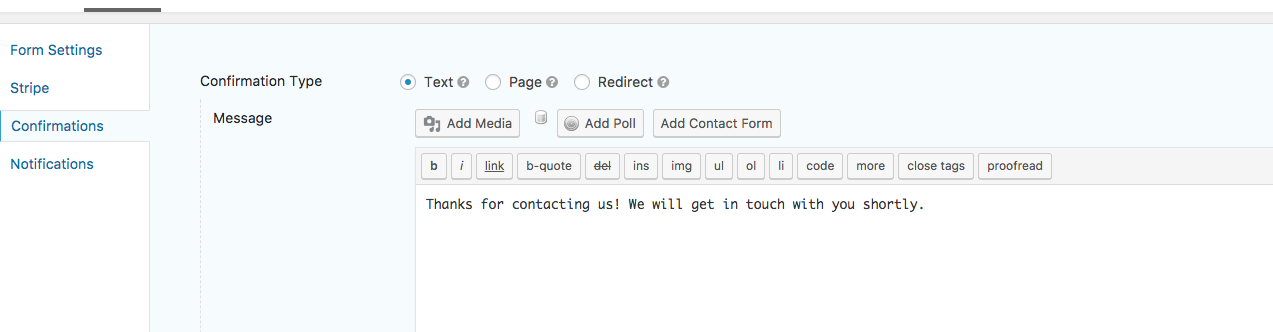
Step 4A1: Hover over Settings in the top menu and click "Confirmations" to edit the default confirmation texts.
Step 4A2:Hover over a particular item in Confirmations and click "edit" to update the options

Step 4A3: Update the options and hit the blue "Update Confirmation" button.
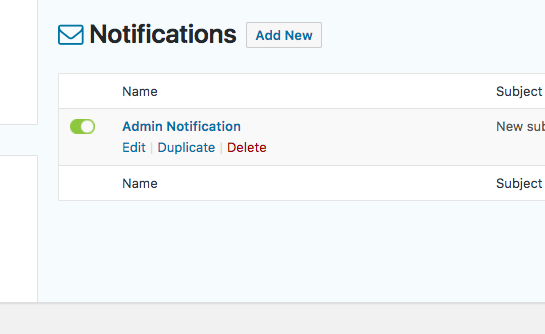
Step 4B1: Hover over Settings in the top menu and click "Notifications" to edit the default notification emails.
Step 4A2: Hover over a particular item in Notification and click "edit" to update the options
Step 4B3: Update the options and hit the blue "Update Notification" button.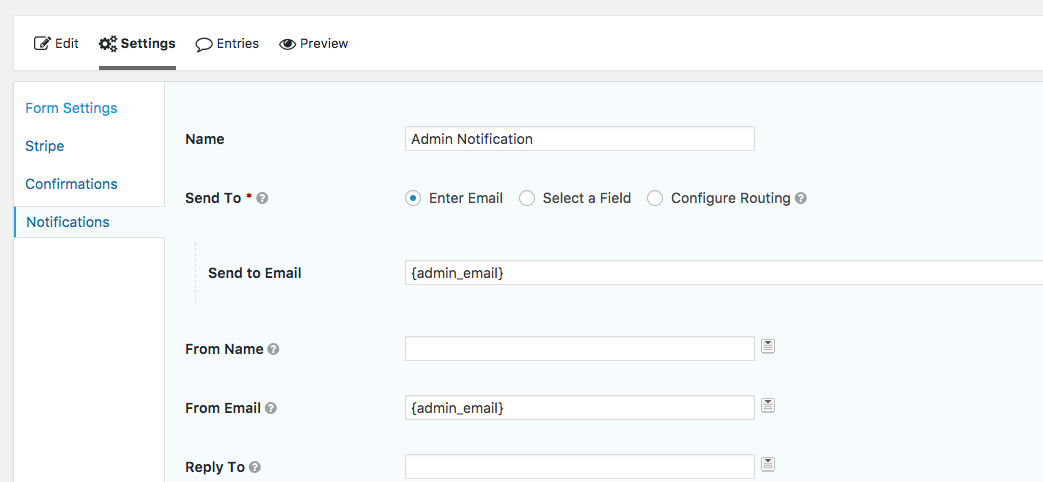
0 Comments