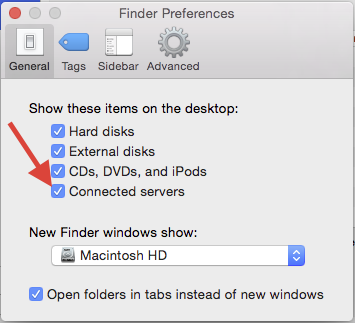
This document will show you how to dump the old "DR" drive and add it back to your desktop connecting using SMB. It will also show you how to add that newly connected SMB drive to the startup items of your user. This article assumes that you have the network drive visible on your desktop. If you don't see your network drives on your desktop, go to the Finder menu and select Preferences. Then click the checkbox next to "Connected servers.
_________________________________________________________________
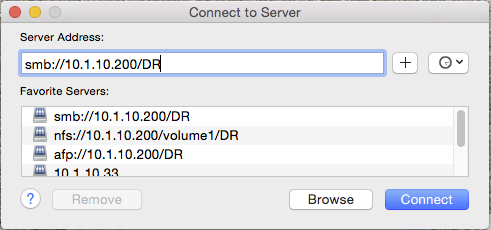
First, drag the old AFP connected "DR" drive to the trash. Then go to the finder menu and select "go" and "Connect to server...." Type "smb://10.1.10.200/DR" in the "server address" box and hit the + sign to add it to your favorite servers. Then click "connect" to connect to the new server using SMB.
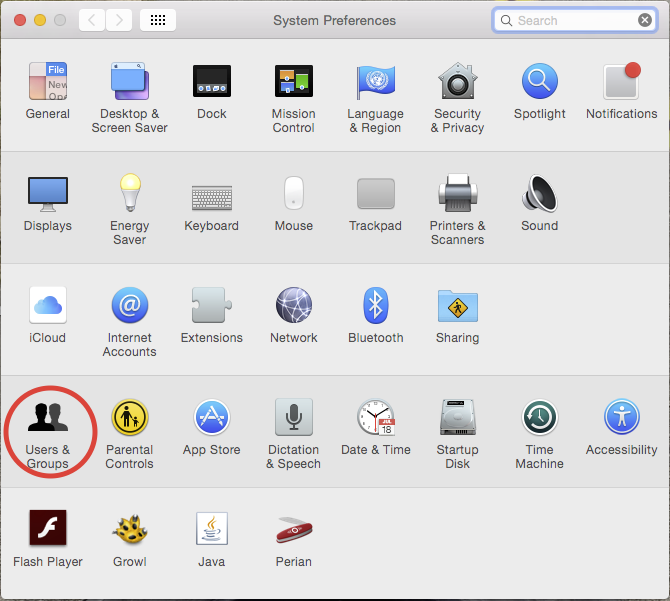
Once you have connected to the new server using SMB, open Systems Preferences and click on Users and Groups
You may have to click the lock symbol in the lower left hand corner to unlock the users and groups preferences. Log in using the login credentials you use to log in to your mac every day. Once you have the panel unlocked, click on your user, and then the "Login Items" pane. Select the connected drive and hit the "minus" sign. This will dump the old drive out of your login items.
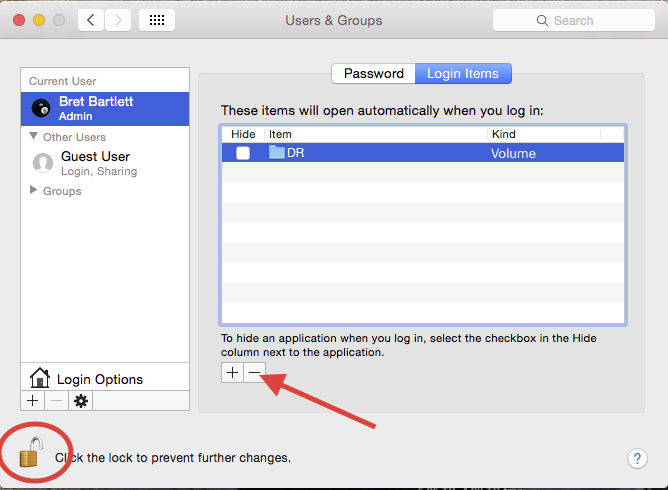
Next, drag the new drive from your desktop to the Login Items pane. This will set that drive to reconnect on login after each reboot. Close out the Users and Groups window and you are done.

0 Comments