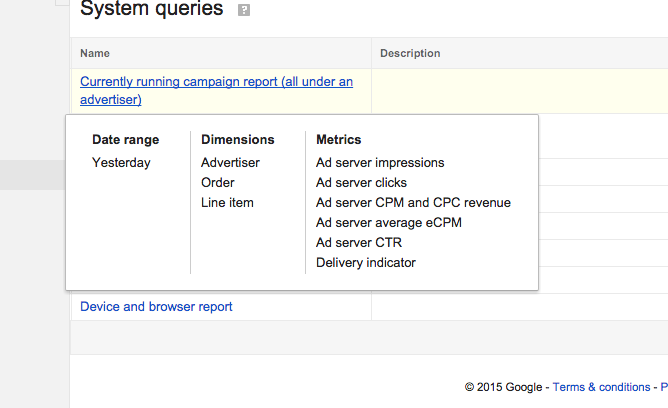
Reports contain "metrics," typically impressions, clicks or revenue, segmented by a "dimension" like Advertiser or Salesperson. They have a timeframe and can be generated by DFP on a schedule. The results of each "query" can be optionally emailed as a link or attachment.
Most reports are called "historical." Similar but different, a "reach report" counts the number of unique people reached by an advertiser during a timeframe and according to filtered criteria.
Step 0: Go to DFP Reports tab. Click any of the "system queries" to get into a new report. The first one, "Currently running campaign report" is a commonly useful starter.
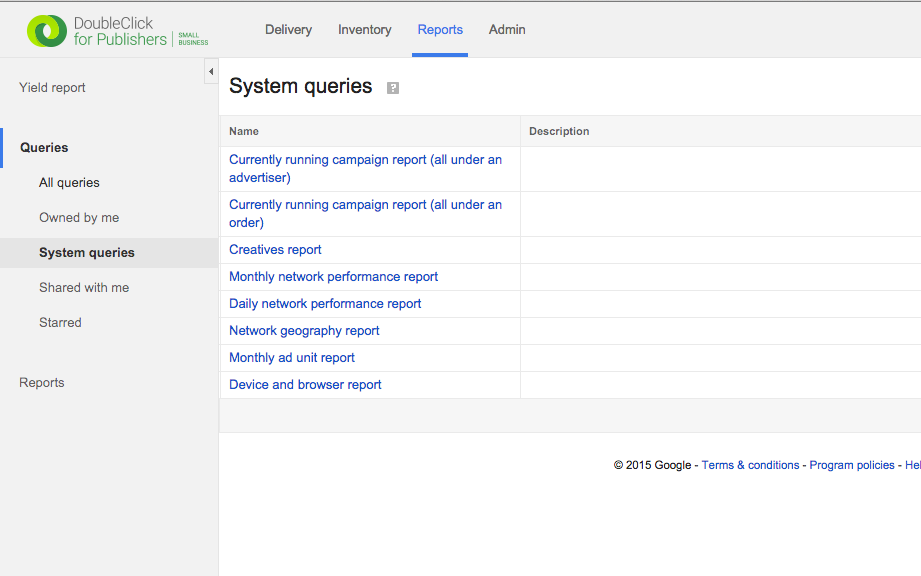
A report is a combination of data ("metrics"), filters to narrow down that data and a timeframe from which to pull it. This combination is called a "Query". Each of the items listed in the default options screen represents a Query.
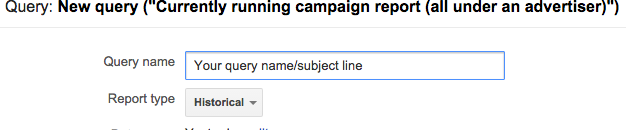
Step 1: Create a unique report name in the "Query name" field. This name becomes the subject line of any emails, so it's a best practice to pick something useful.
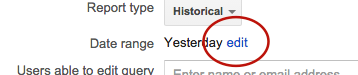
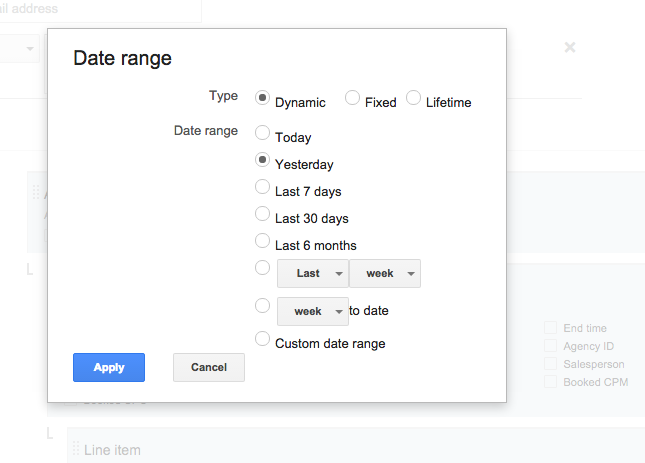
Step 2: All queries have a timeframe. Sometimes the timeframe is "all the history we have," but the "date range" is typically fixed (e.g. December to November) or dynamic ("last Month"). A) You choose these options by clicking "edit" link next to the "Date range" field. A popup then emerges that lets you B) choose your Query's date range.
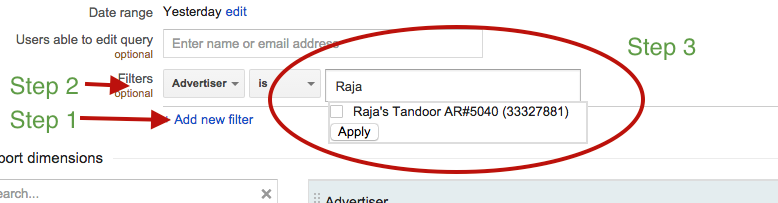
Step 3: Filters reduce the query data -- which is everything in between the currently timeframe selected in Step 2. Click "Add new filter" to add as many filters as you need, reducing the data to whatever you want to analyze. For example, "Advertiser" is an option and lets you pick an Advertiser from a type-ahead list. Salesperson is also an option. You can filter by pretty much anything, for example all Line Items containing "mattress" in the name.
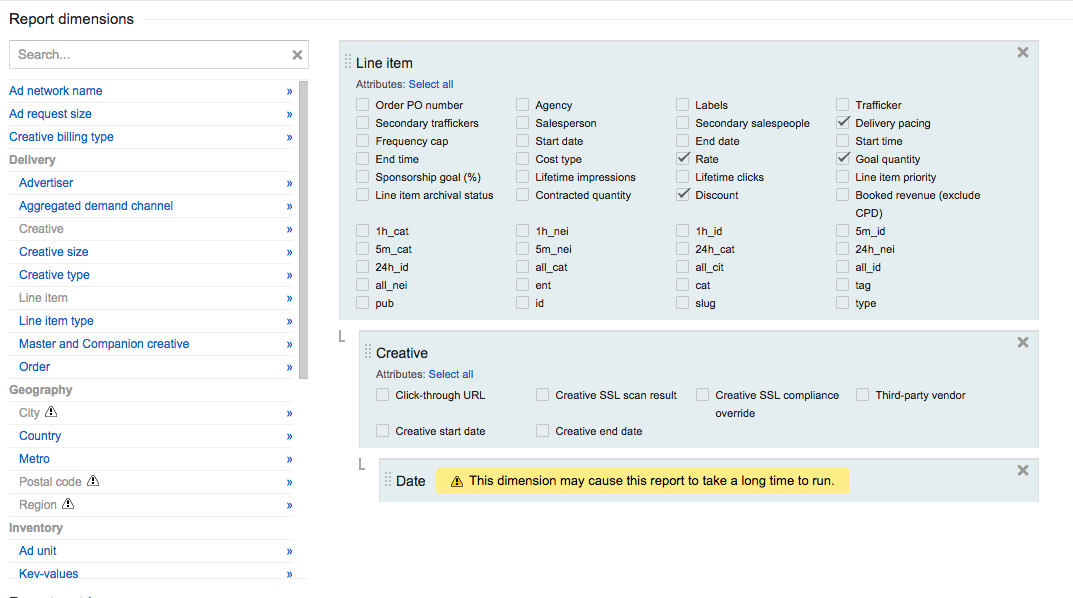
Step 4: Dimensions are the ways you slice and dice the data you've filtered down from the dataset behind the Query's date range. These end up as columns in a spreadsheet. So if you'd like to see, for example in the image below, data by date for each creative across all line items you'd select those three dimensions and "drag and drop" them to arrange your report data.
Step 5: Choose the data ("report metrics") that you want to include in the report. For most campaigns, the "Total" column has everything you need - impressions, clicks and CTR. The "Ad Server" column has redundant data but has at least one unique and useful option: To get a single total revenue (or cost) figure that includes both Standard and Sponsorships, choose "Ad Server CPM, CPC and CPD revenue" in the "Ad server" column.

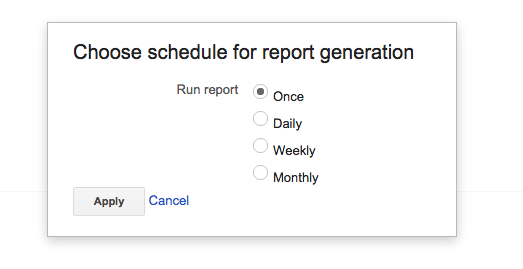
Step 6: Choose a schedule on which to run the report. The default is to run it manually, but depending on the report you may be able to schedule it daily, weekly, on a certain date, etc. Click "edit" link next to "Generate report" to see your reporting recurrence options. Pictured below is an example.

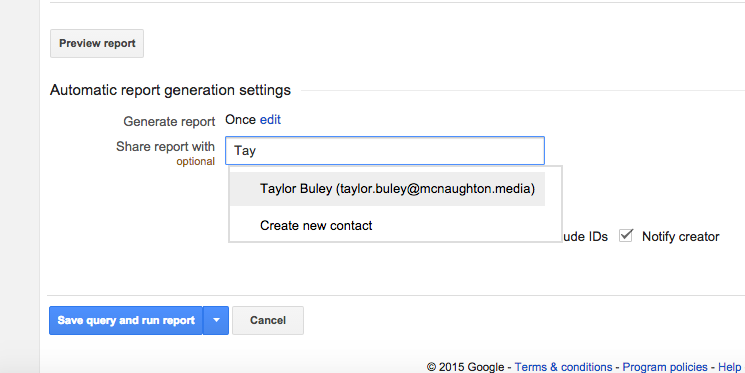
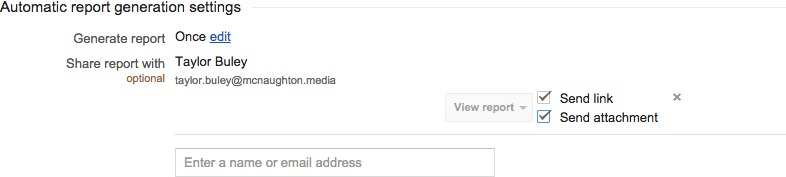
Step 7: If you'd like to email the report to a DFP User, A) type the User's name into the "Share report with" box. You'll then be able to B) check the "Send attachment" checkbox the report to the email as a CSV (a widely interchangeable comma-separated value attachment format).
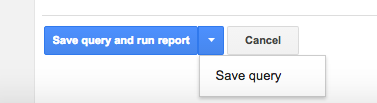
Step 8: To run the report (and send any emails) click the "Save query and run report" button. To schedule the report without sending a copy yet, click the little arrow and choose just "Save query."

0 Comments