To observe historical information, we use reporting. In contrast, we use DFP forecasting for a best guess for what will happen in the future. The steps to forecasting mirrors the process of setting up a line item, which has built-in forecasting options.
To create a forecast, you need at least:
- A beginning and ending timeframe
- Ad sizes
Targetable criterion include:
- Targeting
- Ad units
- Geolocation
- Dayparting
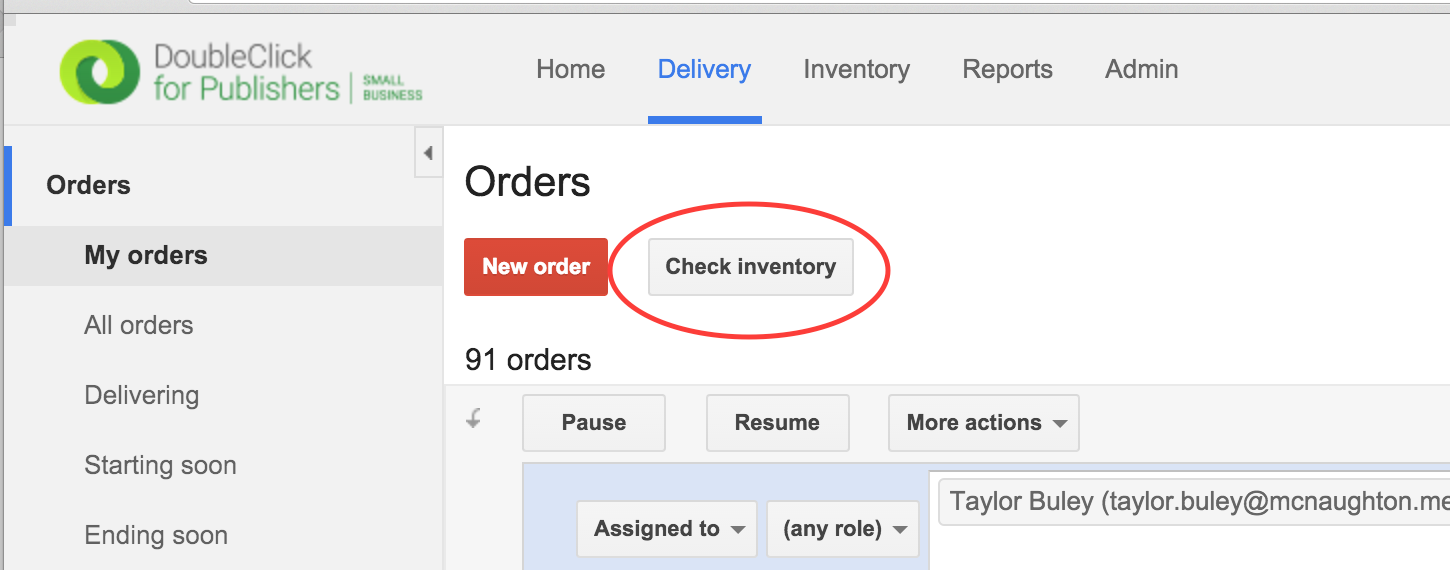
Step 0. Go to the DFP "Delivery" Tab and click the grey "Check inventory" button, which is next to the red "New order" button on the "My orders" and "All orders" screens.
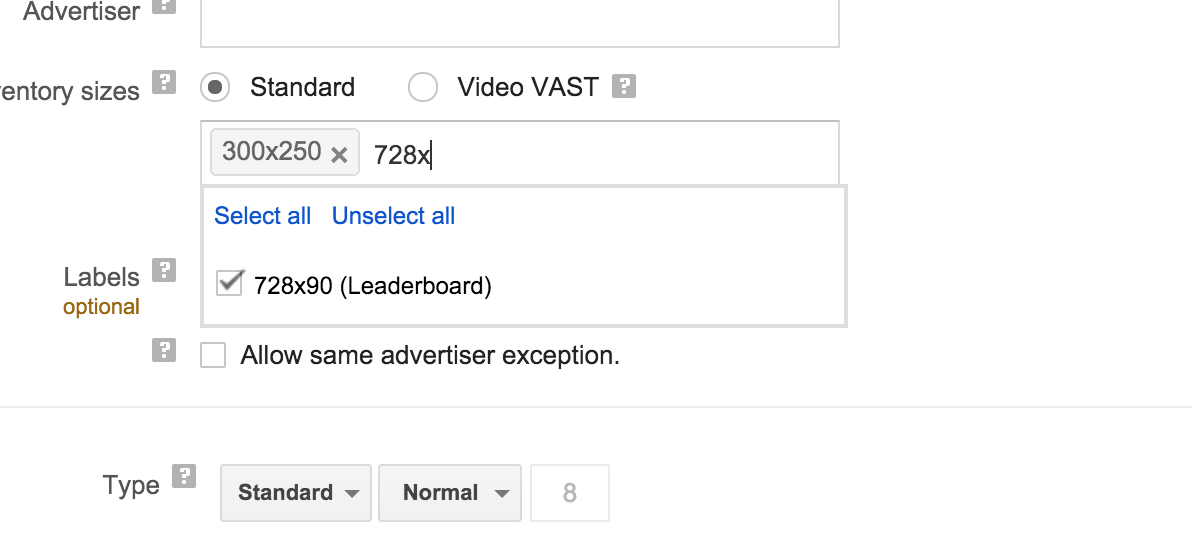
Step 1: Choose some sizes to forecast. You can type the full sizes (e.g. "300x250"), comma-separated, or choose them from a typeahead list by typing a partial size.
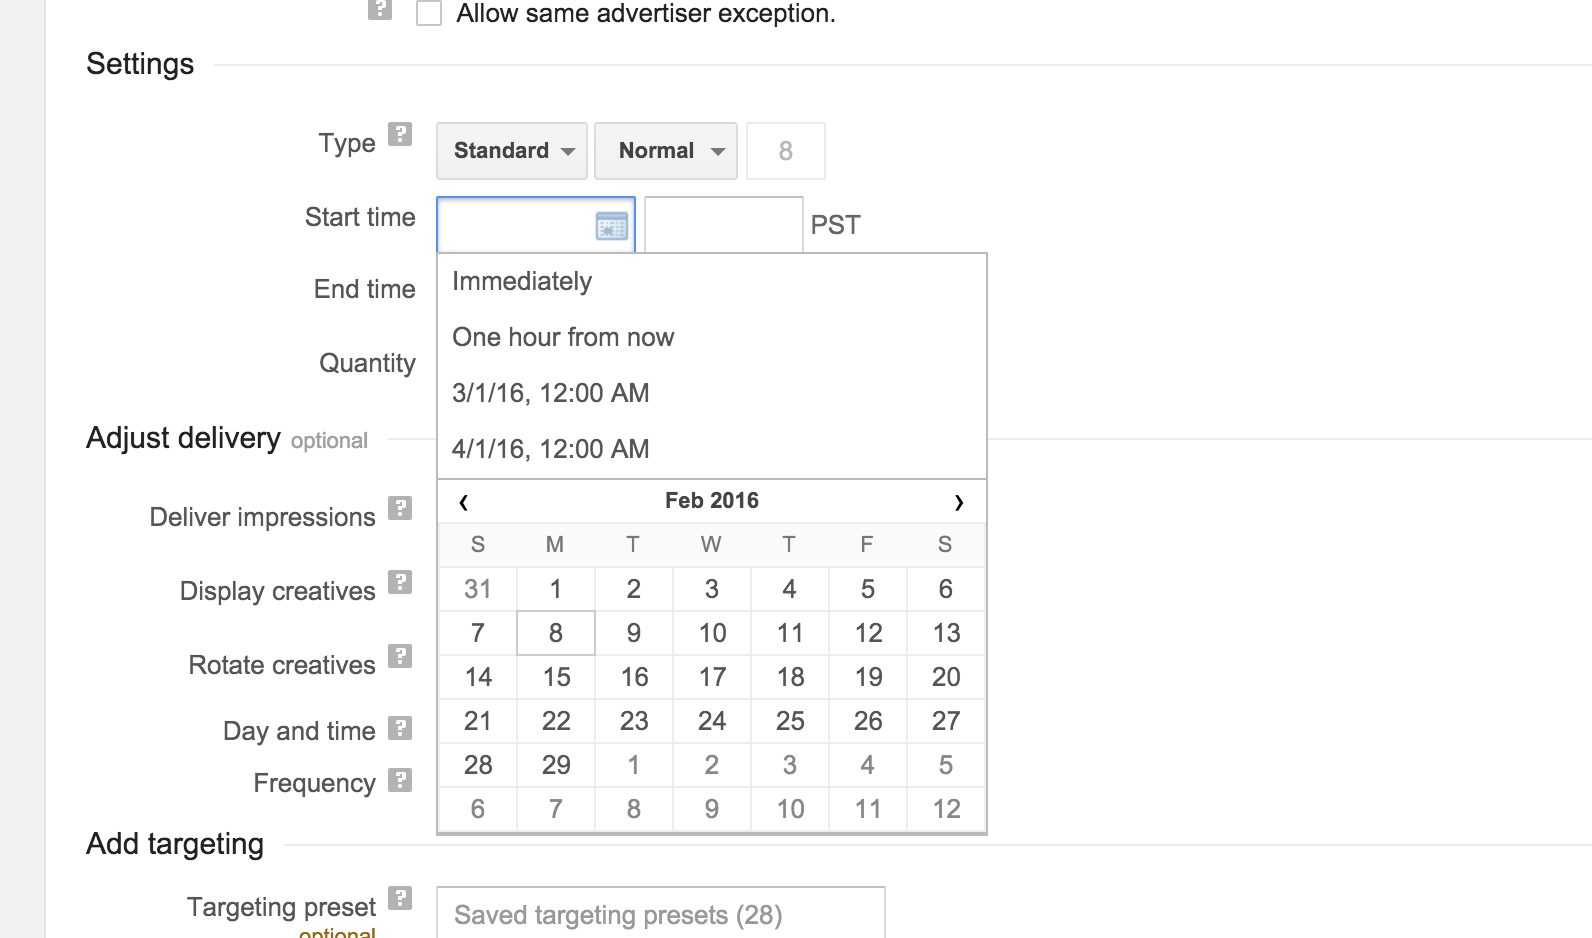
Step 2: In the "Settings" section choose a Start and End time
Step 3: Optionally add other targeting criteria such as Geotargeting, dayparting, or ad unit targeting.
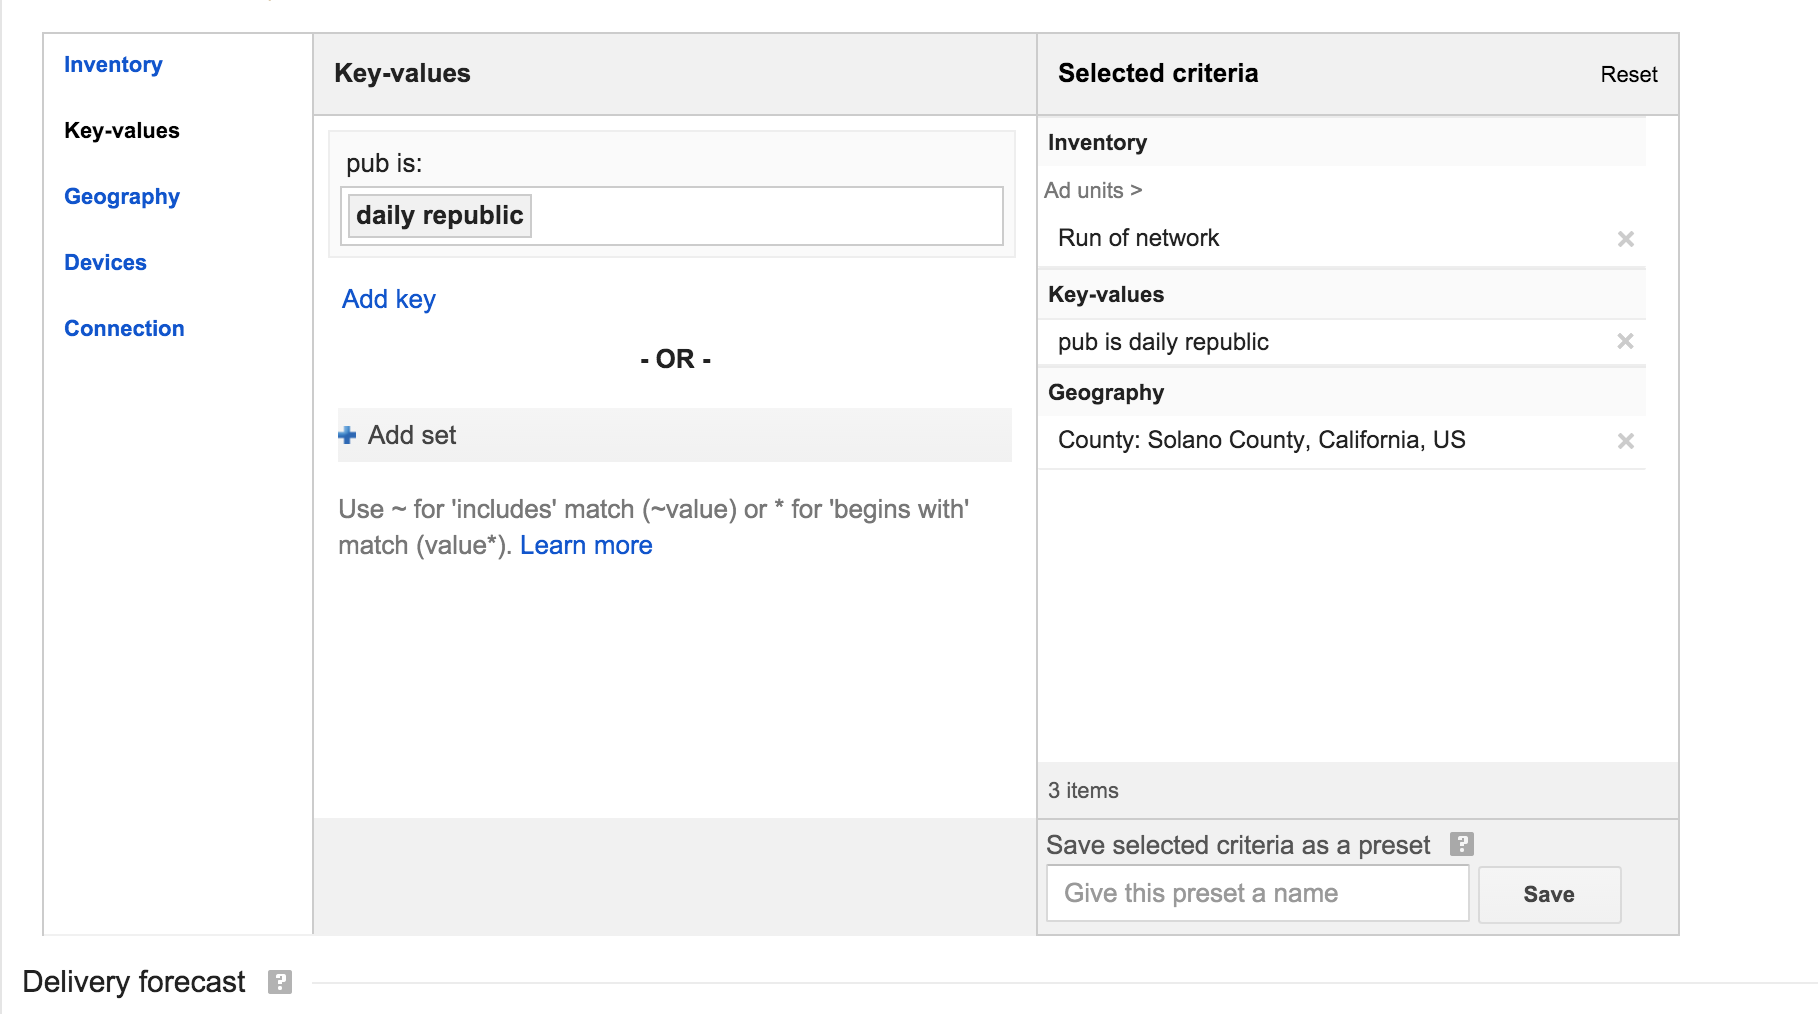
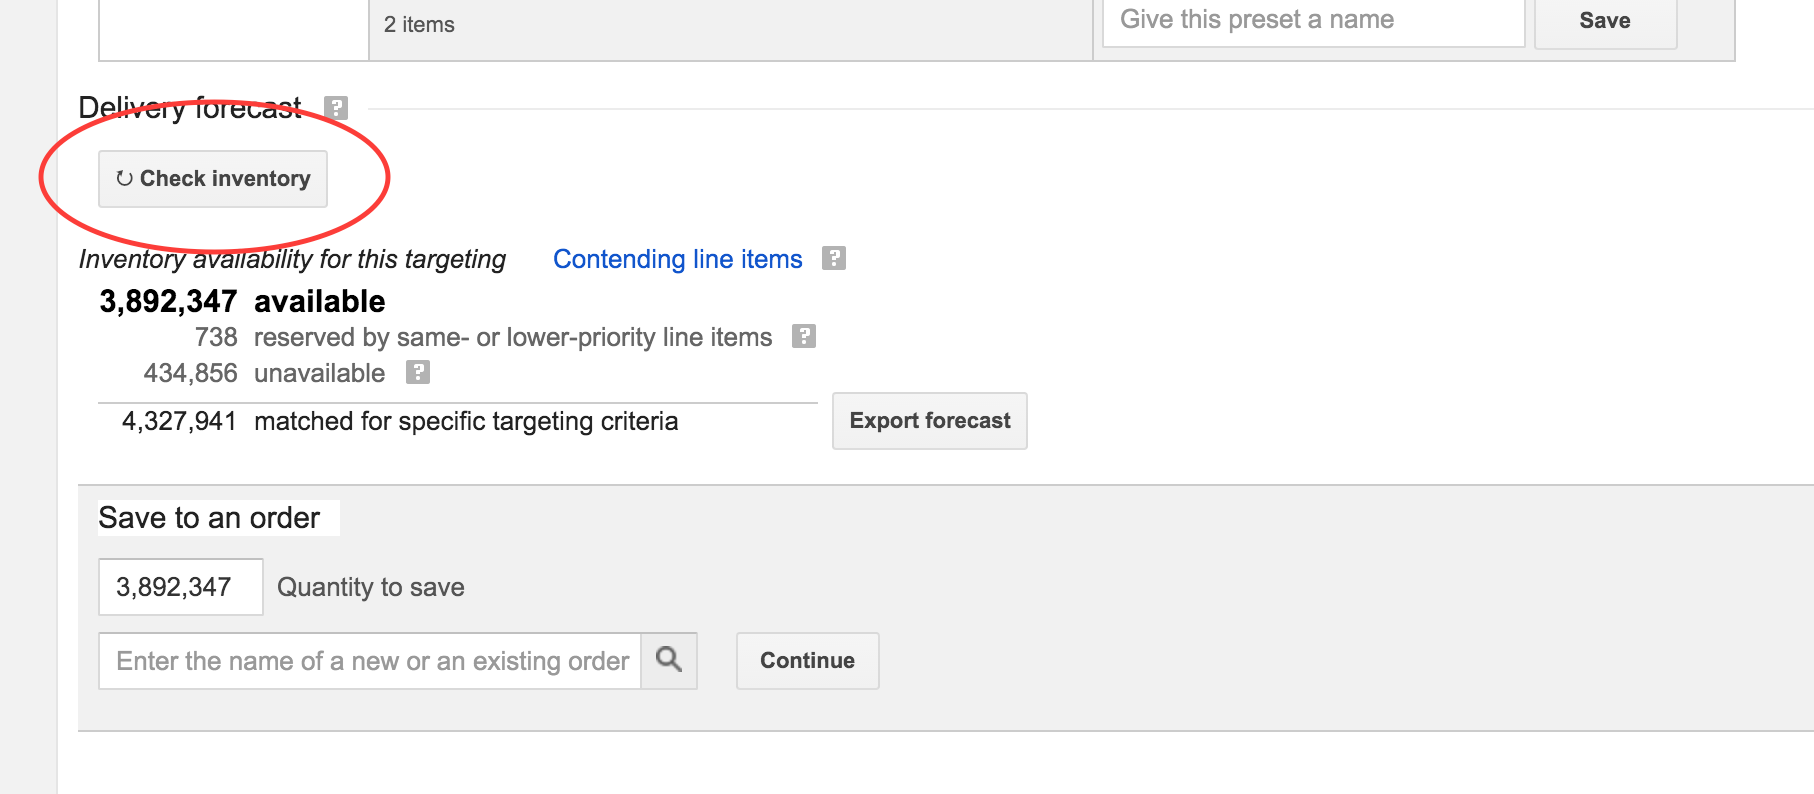
Step 4: Under the "Delivery forecast" section at the bottom hit "Check forecast" button to view the availability for your current configuration.
0 Comments