To book an ad insertion, you need to know a few things about the ad:
- Product (SKU)
- How big (columns wide, depth?)
- What type (Grayscale, CMYK?)
- How frequently (TFN? Otherwise, which ad runs?)
- Salesperson
Other information may be helpful:
- Discounts
- Account number
- Advertiser information (such as billing contacts)
- Notes
- The creative to attach
At the Winters Express, all required and supplemental information is provided by the Print Insertion Request form, found at www.wintersexpress.com/io/. This information could also be provided by, for example, a paper IO form.
This tutorial assumes you've got an IO email or other information already in front of you. If you'd like to see an example IO email, contact help@mcnaughton.media.
Step 0: Open Winters Express Quickbooks account. Visit https://qbo.intuit.com/login to sign in.
Step 1: Navigate to the the Sales->Customers tab: https://c8.qbo.intuit.com/app/customers
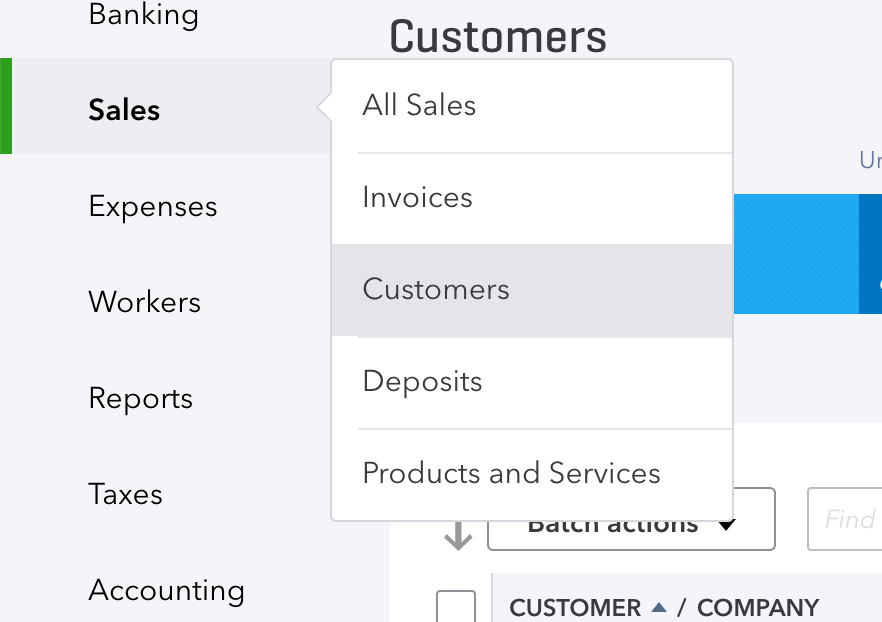
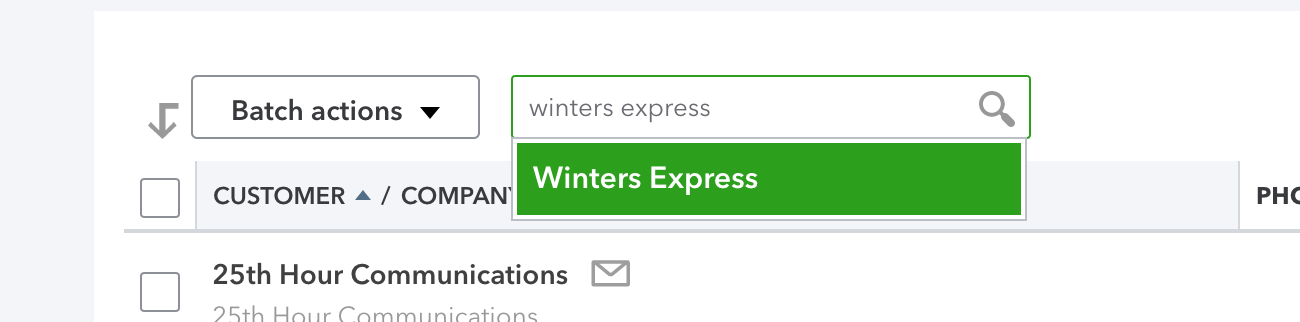
Step 2: Find the appropriate Customer and click into their sales page. That's typically the advertising customer, but for legals and pre-paid advertising it's typically the Winters Express.
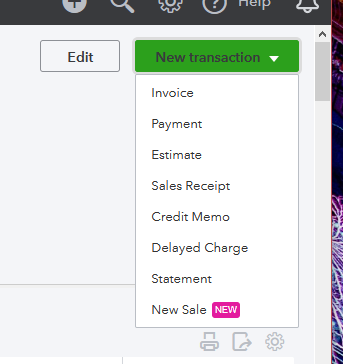
Step 3: While viewing this customer, click "New Transaction" button then "Delayed Charge."
Why it's nice to pick the customer in step two is that A) it pre-populates the customer on the delayed charge and B) it will pre-populates the last delayed charge entered for this customer. This can save time on occasion.
Step 4: Fill out the delayed charge.
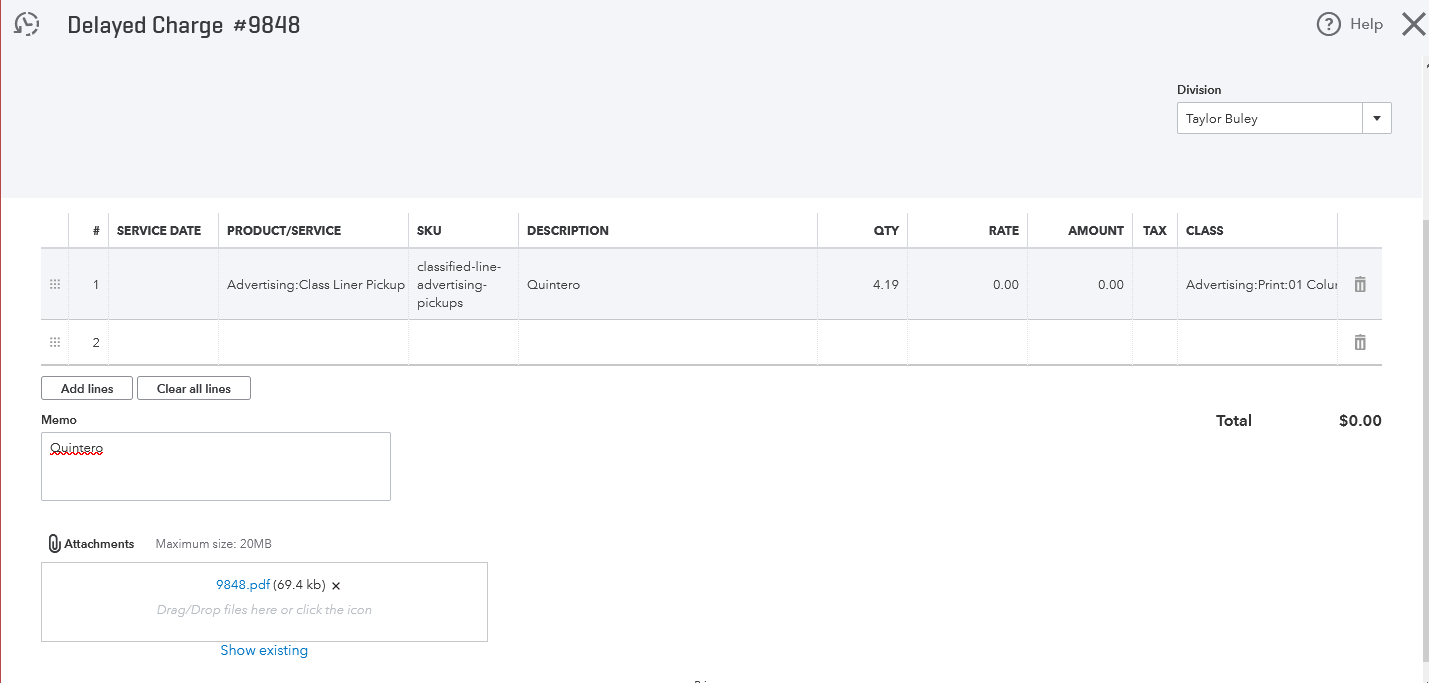
Step 4A) Input a Creative # under "Delayed Charge no."
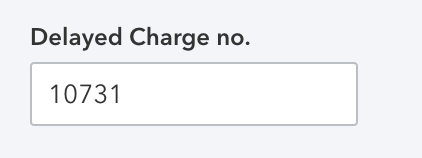
This unique number is how the right ad is found in page production. It typically comes from Zendesk ticket number, but may also come from a paper IO number.
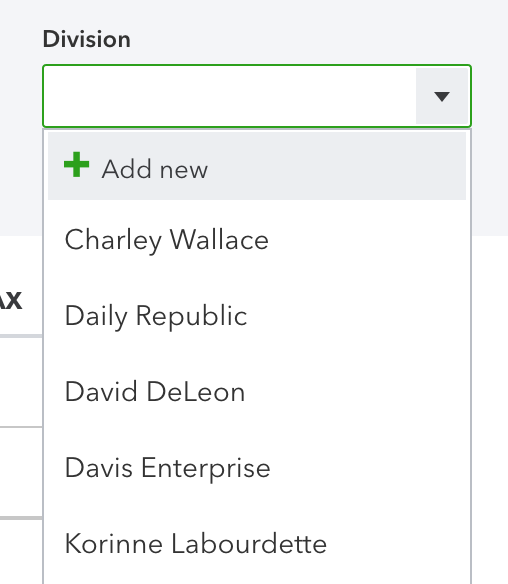
Step 4B) Choose a Salesperson "Division"
Step 4C) Choose the product by searching by its SKU. The rate will pre-populate based on the selected product.
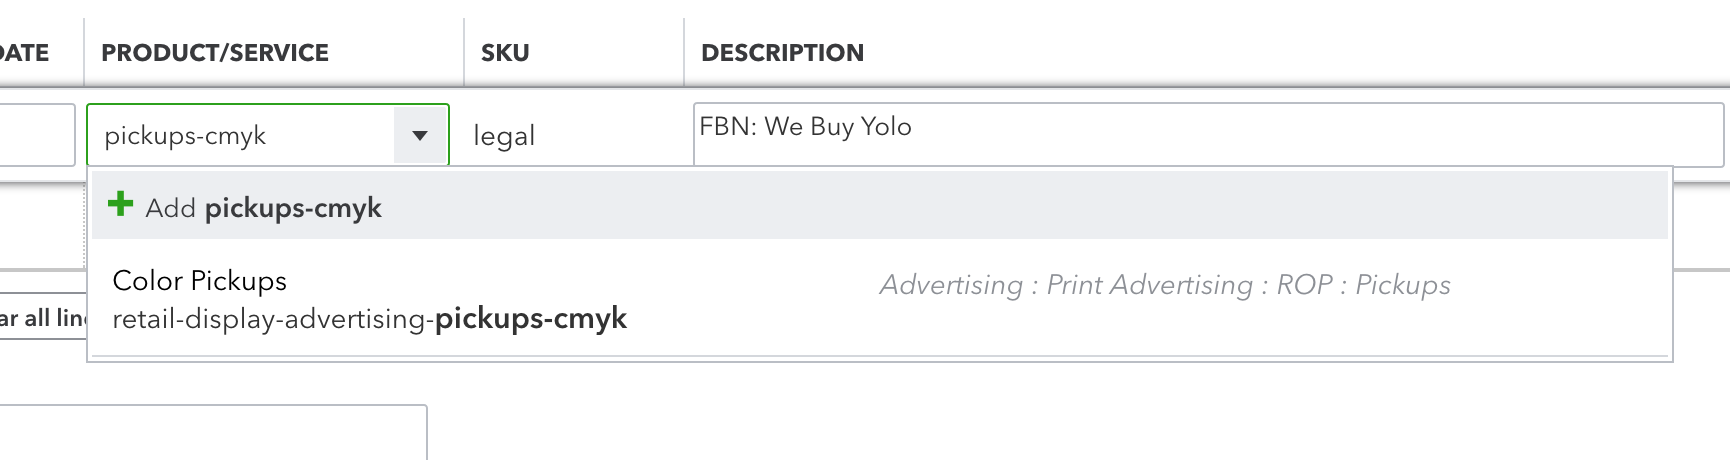
Step 4D) Enter a description and copy/paste it into the notes field.
Various screens choose to show notes at the line item level and the delayed charge level so it's helpful to have them in both places.
Step 4E) Enter a quantity of column inches, our billable unit. That's the total number of columns multiplied by the ad depth (e.g. 2 columns wide, 5" tall is 10 column inches)
Step 4F) Select a number of column inches for any line items that require layout (e.g. "2 Columns" or "12 Columns" for a DoubleTruck)
Step 4G) If a discount is necessary, choose the discount product and add a row to adjust the charge to the desired value.
Step 4H) Optionally, if a creative is provided, attach it to the delayed charge. This carries over to the IO and, when sent digitally, is copied to the customer.
Step 5) Hit "save and close"

Step 6) If multiple delayed charges are required, you can search its number, re-open the IO and choose More->Copy to create a new copy. Just change the date, save, and repeat as many times as necessary.
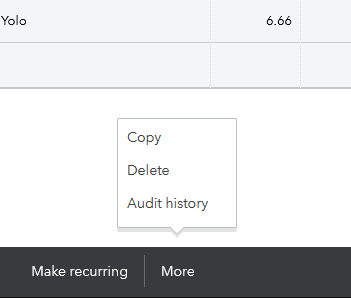
Note the unique delayed charge will automatically increment. You want to change it back and confirm any dialogs that warn you that a charge with the same number already exists.
0 Comments